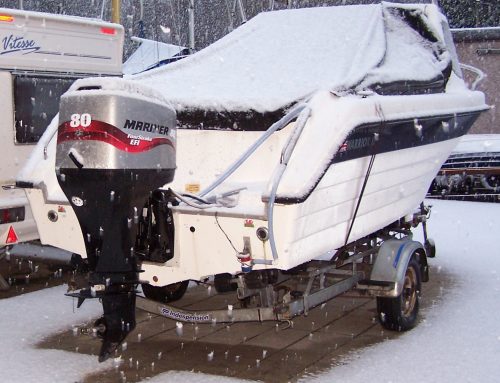
Replacing a Cutlass Bearing on a boat
Boats with a conventional propeller that is shaft driven, use a Cutlass Bearing to support the propeller shaft and allow it to rotate whilst being cooled and lubricated by the surrounding water. The bearing is normally made up of an outer brass shell with a rubber inner. The condition of the bearing should be checked every time the boat is lifted out of the water for wear. Checking the condition of the bearing can be done by trying to lift the shaft by the propeller. If there is lift or play in the bearing which can either be seen or felt then this will mean that the bearing should be changed.
Replacing the cutlass bearing is not a technical job, however, it does require a bit of planning and 2 or 3 special tools.
The bearing can be located in 2 or the 3 different ways. In this blog we are going to look at a typical yacht with the bearing located on a P bracket or strut that is suspended from the hull.
A special tool exists that can remove and replace the bearing without the need to remove the propeller shaft from the boat. This tool saves both time and money if you are paying to have the job done. However, the cost of the tool could be prohibitive to a single boat owner. Here, at Marine Engineering Services (MES Ltd) we have this tool and so it may be more prudent to contact us to complete the job for you.
To replace the bearing without the above-mentioned specialist tool will mean that the propeller will need to be removed using a puller. Once the propeller is taken off the boat, the top end of the propeller shaft will need to be disconnected from the gearbox coupling. The shaft can then be removed from the boat.
Note at this time that the bearing is often held in place by grub screws in the P bracket. The bracket will need cleaning up and the screws, if any, removing. Be careful not to damage the screws. You should use the correct tool and an impact driver to free them.
With the screws removed, the old bearing needs to be cut through its length using a hacksaw or reciprocating electric saw. Care needs to be taken not to cut through the bearing into the P bracket or strut. Note only one cut will be needed if the grub screws were used to secure it. If you make the cut just above or below where the screw is located, you can screw in suitable screws to force the bearing to collapse in on itself near the cut you made with the saw. Once collapsed in, you can twist and pull the bearing out with some grips. If no grub screws were used to hold the bearing in, then 2 saw cuts opposite each other will be needed to free the bearing so that it can then be pulled out.
The P bracket should be cleaned where the bearing lies and the new bearing lubricated with soap on the outer case ready for installation. A length of suitable threaded rod will be needed, along with nuts and thick washers, in order to pull the new bearing into place. The thickness of the rod should be at least a 14 mm thread. Insert the rod through the P bracket and bearing fitting the washers and nuts either end. Tighten the nuts to pull the new bearing into the P bracket. Take care to keep the bearing in line with the housing at the start of this process and lubricate the rod nuts and washers with grease before using them.
Once the bearing has been pulled all the way in, remove the rod etc. Using a suitable size drill, drill the outer case of the bearing which should be spotted to accept the original locking grub screws. Apply a Threadlock to the screws first. Secure them in place, then re fit the propeller shaft, taking care not to damage the stern gland when sliding the shaft through it. Reconnect the gear box coupling to the shaft, but do not bolt it back onto the gearbox at this stage, fit the propeller and nut etc.
Now you can check the shaft to engine alignment. This can be done by moving the propeller shaft coupling up to the gearbox coupling flange without refitting the bolts. Alignment is near when you are able to put the two flange faces together easily without lifting it up, pushing it down or side to side. If you are unable to get the coupling faces together then the engine mounting feet bolts will need to be loosened to allow you to move the engine and get the coupling faces to connect easily.
The next stage of alignment is achieved using feeler gauges. With the two coupling faces pushed up to each other, use a 4 thou feeler and try to insert the feeler gauge between the two coupling faces going all the way round. If you can get the feeler gauge in at anyone particular point, then you move the engine until you can no longer get the feeler gauge in anywhere around the two coupling faces. Then carefully tighten the engine mounting feet and recheck using the feeler gauge again. If all is ok, you can refit and tighten the gearbox coupling bolts. Now you are done so give yourself a pat on the back and put your tool kit away.
If the job seems like to much for you to take on, please feel free to call MES Ltd for an estimate to complete the work for you, thus allowing yourself more free time to enjoy.